Documentation Introduction Rate Calculator
Parcelify Shipping Rate Calculator
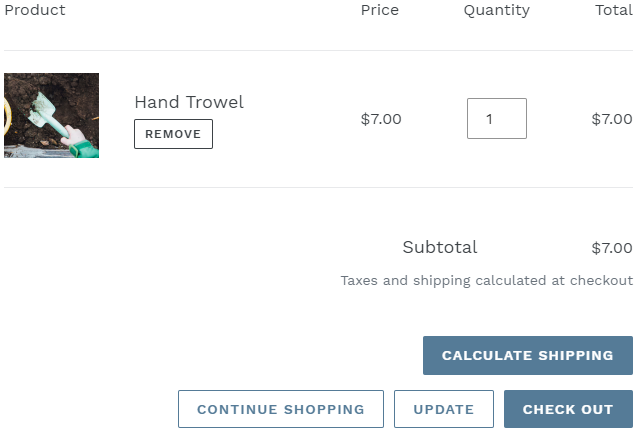
Your customers like to be informed. The more they know about what products they are ordering and what they will be charged, the more likely they are to proceed with a purchase when it’s time to pay. That’s why Parcelify provides a shipping rate calculator you can put right on your cart page.
This guide will tell you everything you need to know to enable, install, and even change the position of your rate calculator to better match your customer’s preferences.
Well informed customers means less abandoned carts for you, and less abandoned carts means more revenue to grow your business, so let’s dive in!
Note: A section in this video indicates Parcelify storefront can only handle a low amount of checkouts. This information is inaccurate. While storefront is a great option for smaller shops looking to avoid paying CCS fees, both the shipping rate calculator and storefront feature can handle an arbitrarily large number of checkouts. For more information about Parcelify storefront, Click here.
Install Parcelify
- If you already have Shopify CCS enabled, you will be brought directly to our app page. Great!
- If you do not have CCS enabled, you will be presented with our service selection screen. Our rate calculator will work without CCS, so if all you want to do is show it on your cart page, click [Select] under Parcelify Storefront
The easy way
Once you are on our app page, scroll down to the section that says Storefront Components and locate the component that says Shipping Rate Calculator
- Start by clicking [Install Shipping Rate Calculator]
- A modal will appear informing you the calculator is installed
- Click [ Install App Block]
- This button will open the Shopify theme editor and take you to your cart page
- Parcelify will attempt to place the rate calculator in a sensible position on the page, but feel free to move it around
- When everything looks good to you, click the [Save] button in the top-right
Important: what locations are available to place app blocks (e.g. the Parcelify rate calculator) is controlled by your theme
The custom way
There are a couple reasons why you may want to manually install our rate calculator:
- Your theme does not support adding an App Block in the location you want this component to show
- Your theme is not Online Store 2.0 compatible and does not support App Blocks
- You wish to modify the functionality of the calculator itself by changing its markup
In these cases, you must add the Parcelify assets to your theme yourself, as well as designate where the component should show up.
Installing Parcelify Rate Calculator assets
- Download the
.liquidand.cssassets appropriate to your theme here: Rate Calculator API - Open up the Shopify theme code editor
- Navigate to your Shopify admin page
- Select your Online Store
- Click the ellipses next to the black [Customize] button
- Click Edit code
- Select the Assets folder, then click [+ Add a new asset]
- Upload the
.cssfile you downloaded earlier - Back on the theme page, click the Snippets folder
- When you click [+ Add a new asset] it will ask you for a file name
- Enter
parcelify-rate-calculator, then click [Done] - Copy the contents of the
parcelify-rate-calculator.liquidfile you saved earlier into this new asset - Click [Save] in the top right
Placing the rate calculator
- (Optional) You may find it helpful to have your cart page open in a separate window so you can see changes in real time
- Navigate to the Shopify theme editor
- Type
cartin the search box in the top left - For most themes, you will find a file with something similar to one of the following names in your sections folder:
cart.liquidcart-template.liquidmain-cart-footer.liquid
(If you find a fairly long file (100+ lines) with several references to words like cart, quantity, taxes, you are likely in the right place)
- Here you can get creative. Start by putting the code snippet right at the top of this file and click Save
- Go back to your checkout page and click your browser’s refresh button. If the rate calculator shows up anywhere on the page, you certainly have the right file selected
Even so, having a rate calculator hovering somewhere in the top-left of the checkout page will look out-of-place on most themes, so proceed to move the code snippet down in your theme code until it looks right - (Optional) Since most merchants prefer their rate calculator somewhere near the checkout button, you can try searching your code for
cart__submit-controls(or something similar) to get your roughly in the right place
That’s all there is to it!
If you run into trouble or simply have suggestions about our rate calculator, please reach out to us at support@parcelify.com