Documentation Protect Checkout UI Extension
To sign up, please reach out to us at protect@cleverfew.co.
Installing the Parcelify Protect Checkout UI extension
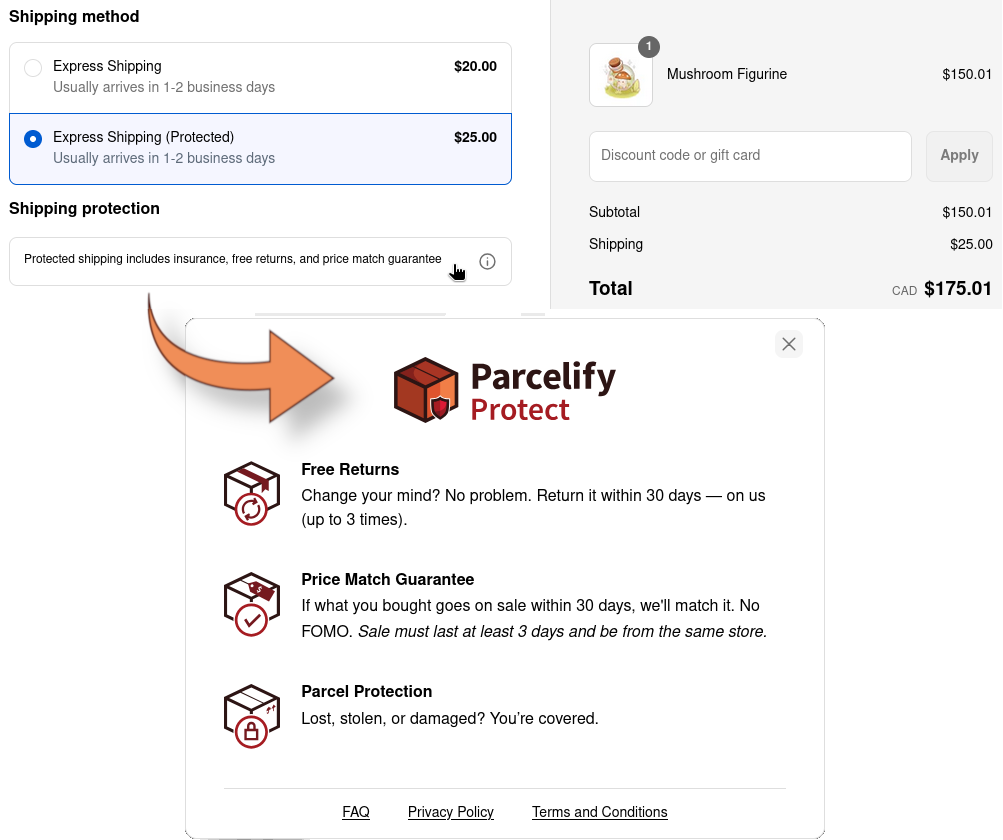
Parcelify provides a checkout UI component that you can place into the standard Shopify checkout. This block summarizes the benefits of protecting an order to your customers and provides links to Protect’s FAQ, Privacy Policy, and terms of service so your customers can learn more about the protection they are purchasing.
Shopify Plus Customers
Only Plus shops can customize their checkout page with Checkout UI Extensions. Customers on any other plan will be limited to placing the extension on their thank-you page. For customers on a Shopify Plus subscription, we recommend placing our block directly under your shipping rates, so your customers can review all the benefits of choosing a protected rate.
General installation
- Start at your Shopify admin page
- Navigate to your settings (bottom-left corner)
- Select the Checkout category in the left-hand navbar
- Click the Customize button. This will open the checkout editor
- In the left side of the checkout editor, click the
 Apps button
 - Here you will see a list of available checkout UI extensions. If you click the blue plus icon on Parcelify, you will see the option to add our extension to your checkout or thank-you page

- As mentioned, Shopify Plus customers should place this block on their checkout page
- For all other Shopify customers, place our checkout extension on your Thank you page
- Use the sidebar to choose where you would like this block to be placed
- Click Add Block
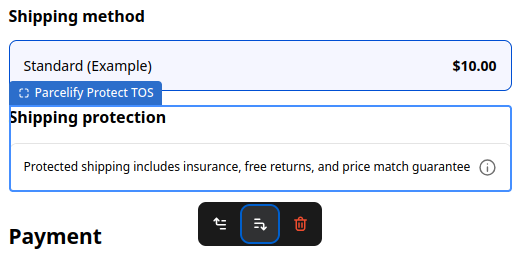
- A pop-up will appear with a list of app blocks available to this page. Click the Parcelify Protect TOS block to add it
- If you’re not happy with where this block appears, you can click the up or down arrow in the editor itself to move it around
- Finally, click Save in the top-right of the screen to commit your changes
Congratulations. You now installed and configured Parcelify Protect, then placed our app block into your checkout so customers can learn more about how their orders are protected. Next we’ll cover what to do when a customer escalates a claim to you so you have the highest likelihood of being reimbursed.